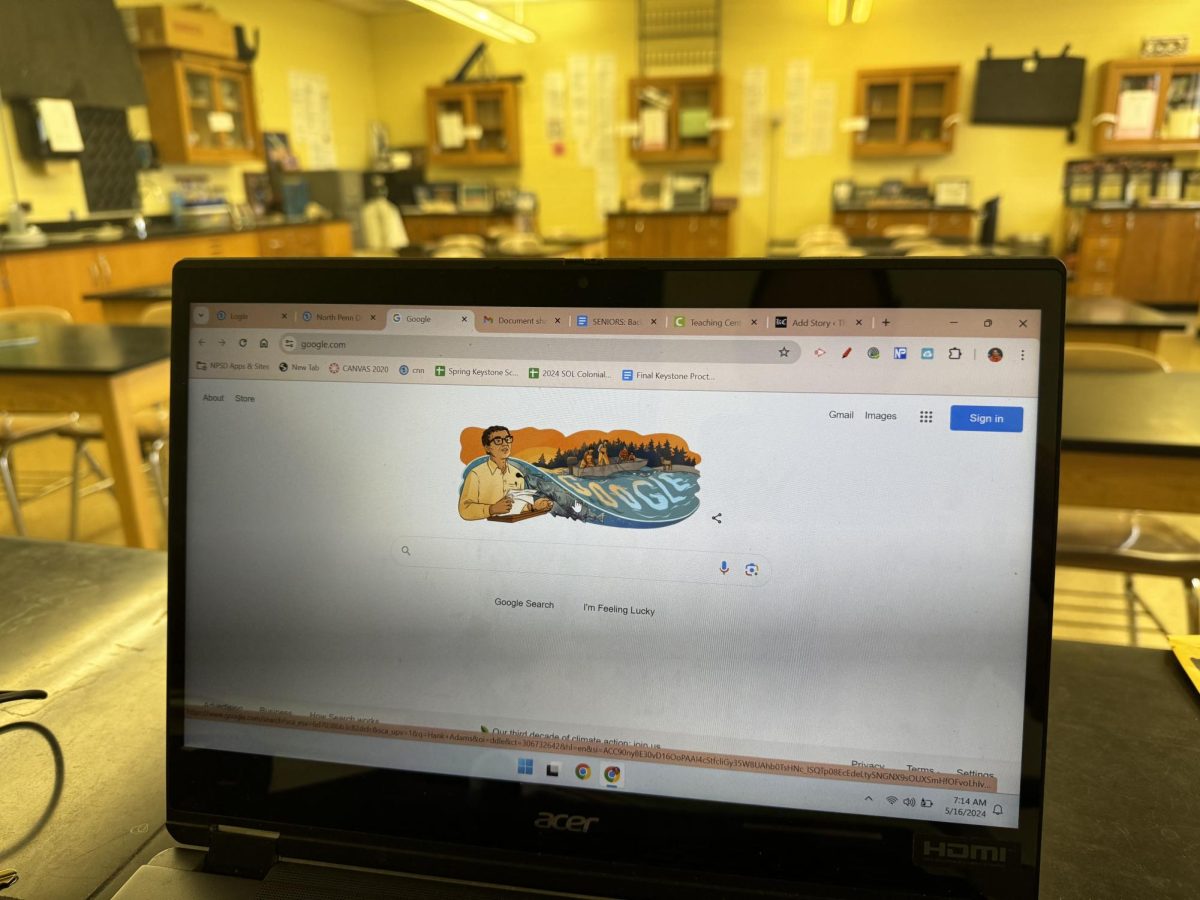
It’s official, the class of 2024 will be graduating in little more than twenty days from now! It’s a very exciting time at North Penn High School, but as our time in the district comes to a close, so do the Google accounts we’ve been utilizing over the past 5+ years. For graduating seniors, North Penn Google accounts will be disabled at the end of July, less than three months from now. However, it is recommended that seniors migrate their data before graduation. In order to preserve your data, here are the steps you can take by exporting it through Google.
Step 1: Log into Google Takeout
Google provides an automated service for exporting data. While logged into your North Penn Google account, navigate to https://takeout.google.com. This can also be found by going to your Google accounts page, navigating to “Data & Privacy,” and clicking “Download your data.”
Step 2: Begin the Takeout Process
On the Google Takeout page, scroll down to “Create a new export.” Here, select the services you want to receive data from. The most important of these is your Gmail and Drive data, which includes all your emails and files. Some other services you might want to consider are Calendar, Chrome (bookmarks and history), and Keep (notes).
Once you’ve selected the services you want to backup, click the blue “Next Step” button. Here you can choose destination, frequency, and file options.
- Destination: You’ll want to set this to “Send download link via email,” unless you would prefer DropBox or OneDrive. Whatever you choose, you can always manage your exports at the top of the page.
- Frequency: Set this to “Export once”
- File type & size: For most systems, you’ll want your export to be in .zip format. This is a compressed file that can be extracted on any computer. Since the size of the export is likely not very big (mine was 6 GB, but it varies), set the File size to 10 GB to ensure it isn’t split into two files. If you have slower home internet, consider setting this to a lower size.
After that click “Create export,” and you’re done! Google will email you on your school account when the data is ready to be downloaded (for me, this took less than 20 minutes, but it may take longer).
Step 3: Using Your Data
So, you’ve exported your data: now what? Although the large amount of files may seem daunting, there are lots of ways you can view and edit them.
Firstly, though, make sure to store your exported data in a safe place. For me, that’s an external hard drive where I keep my important backups. Other places might be on your personal laptop or desktop computer, on DropBox, a flash drive, or on another non-school Google account. Wherever you store it, ensure that it’s not just on your chromebook.
To access your exported emails, you can use a email client like Thunderbird, which is free. Here is a guide for viewing and browsing your exported emails with Thunderbird.
For Google documents, presentations, and spreadsheets, they’re all compatible with Microsoft Office. Alternatively, you can upload and edit them in a separate, personal Google Drive. If you don’t have Microsoft Office, LibreOffice is a trusted, free and open source suite that is very similar.
There are a multitude of other free tools for viewing and editing any other files you might have, so don’t hesitate to look online! Just remember to do your research before installing any creepy software.
Have any questions, difficulties, or concerns? Leave a comment and I’ll get back to you as soon as I can!


Melissa Plumb • Aug 9, 2024 at 10:36 am
What school acct not my college acct.?